Android
Contents
- Role of
Kotlin,JavaandXMLin Android - Getting started with Android Application Development
- Creating a new Empty Android Project
- Creating an emulator in Android Studio to run android apps
- Building the UI
- Android activity life cycle
- List of Android app demos available in the repository.
Role of Kotlin, Java and XML in Android
-
XML(eXtensible Markup Language):XMLis used for declaring and defining layouts in android. It can be said thatXMLdefines how the UI looks like for the application you are developing. Each element in theXMLlayout has an unique ‘id’ which can be used to address that element fromJavacode. More on this later, in this tutorial. -
Kotlin:Koltinis official language to develop Android applications since 2017. It is used to write the logic for the applications. This logic can control the actions that take place when user interacts with the application. -
Java: BeforeKotlinwas introduced in Android mobile development,Javawas used to write the logic for the application. Because of its long existenceJavais still used to develop apps, but the industry is shifting towardsKotlin.
App components
This section has been taken from the official Android Developer Guide. You may want to read in detail about the app components in the guide.
1. Activities
An activity is the entry point for interacting with the user. It represents a single screen with a user interface. For example, an email app might have one activity that shows a list of new emails, another activity to compose an email, and another activity for reading emails.
2. Services
A service is a general-purpose entry point for keeping an app running in the background for all kinds of reasons. It is a component that runs in the background to perform long-running operations or to perform work for remote processes. A service does not provide a user interface. For example, a service might play music in the background while the user is in a different app, or it might fetch data over the network without blocking user interaction with an activity.
3. Broadcast receivers
A broadcast receiver is a component that enables the system to deliver events to the app outside of a regular user flow, allowing the app to respond to system-wide broadcast announcements. Because broadcast receivers are another well-defined entry into the app, the system can deliver broadcasts even to apps that aren’t currently running. So, for example, an app can schedule an alarm to post a notification to tell the user about an upcoming event… and by delivering that alarm to a BroadcastReceiver of the app, there is no need for the app to remain running until the alarm goes off. Many broadcasts originate from the system—for example, a broadcast announcing that the screen has turned off, the battery is low, or a picture was captured. Apps can also initiate broadcasts—for example, to let other apps know that some data has been downloaded to the device and is available for them to use.
4. Content providers
A content provider manages a shared set of app data that you can store in the file system, in a SQLite database, on the web, or on any other persistent storage location that your app can access. Through the content provider, other apps can query or modify the data if the content provider allows it. For example, the Android system provides a content provider that manages the user’s contact information.
Getting started with Android Application Development
- Download Android Studio.
- Follow the on-screen instructions to install Android Studio.
Creating a new Empty Android Project
This is kind of Hello World App.
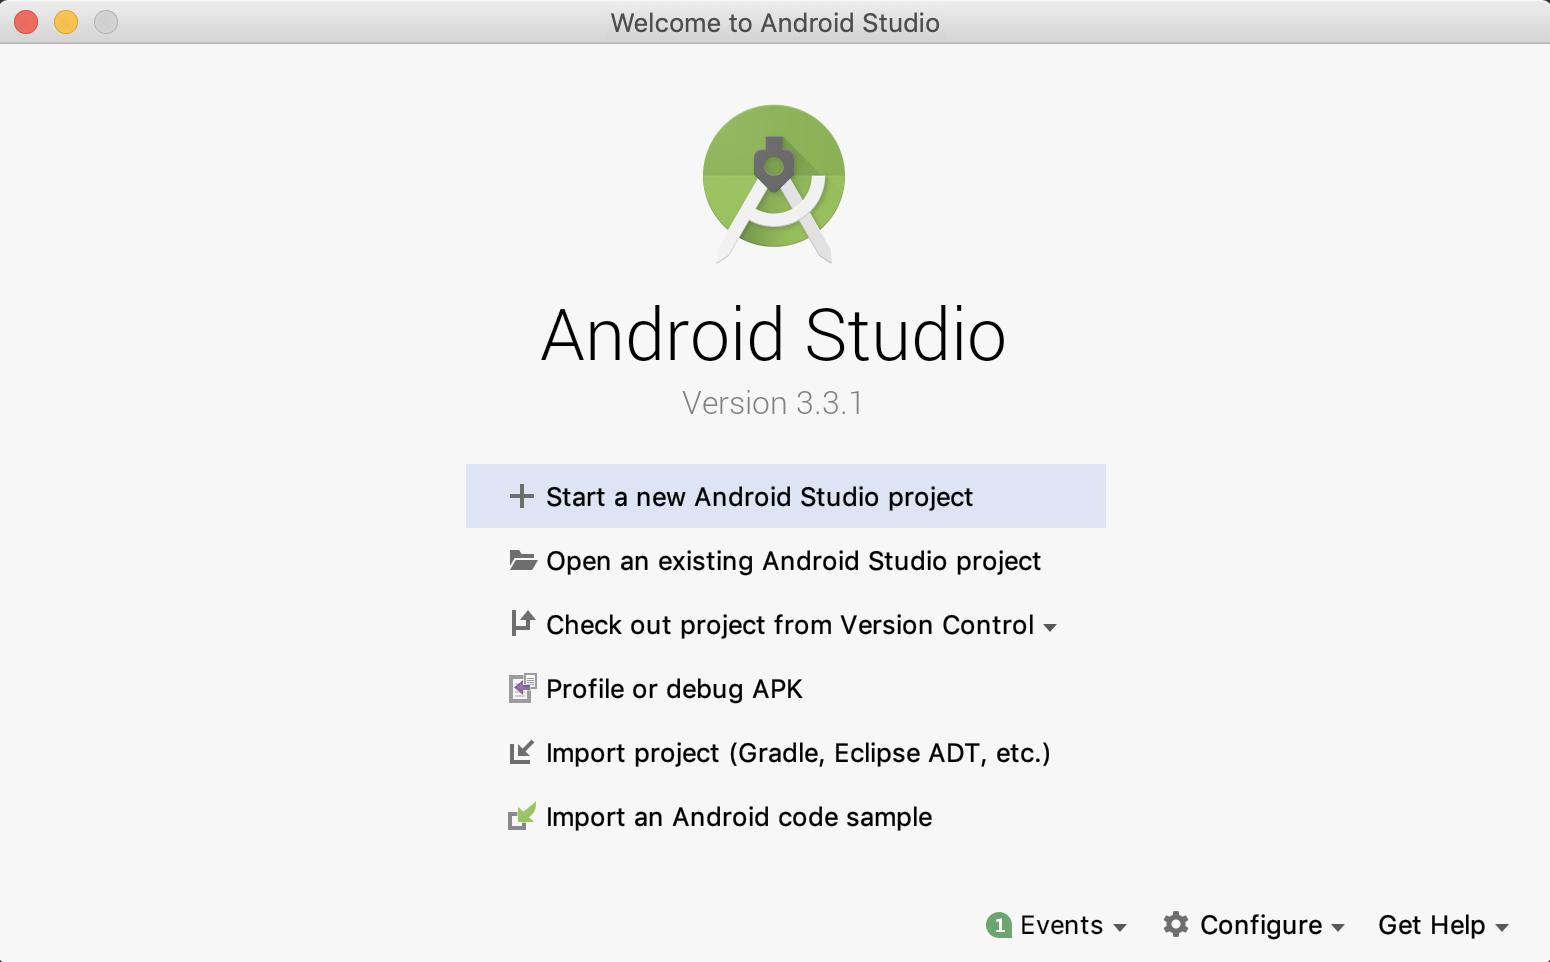
Open Android Studio, and follow the following images to create an empty project.
-
Welcome Screen of Android Studio.
-
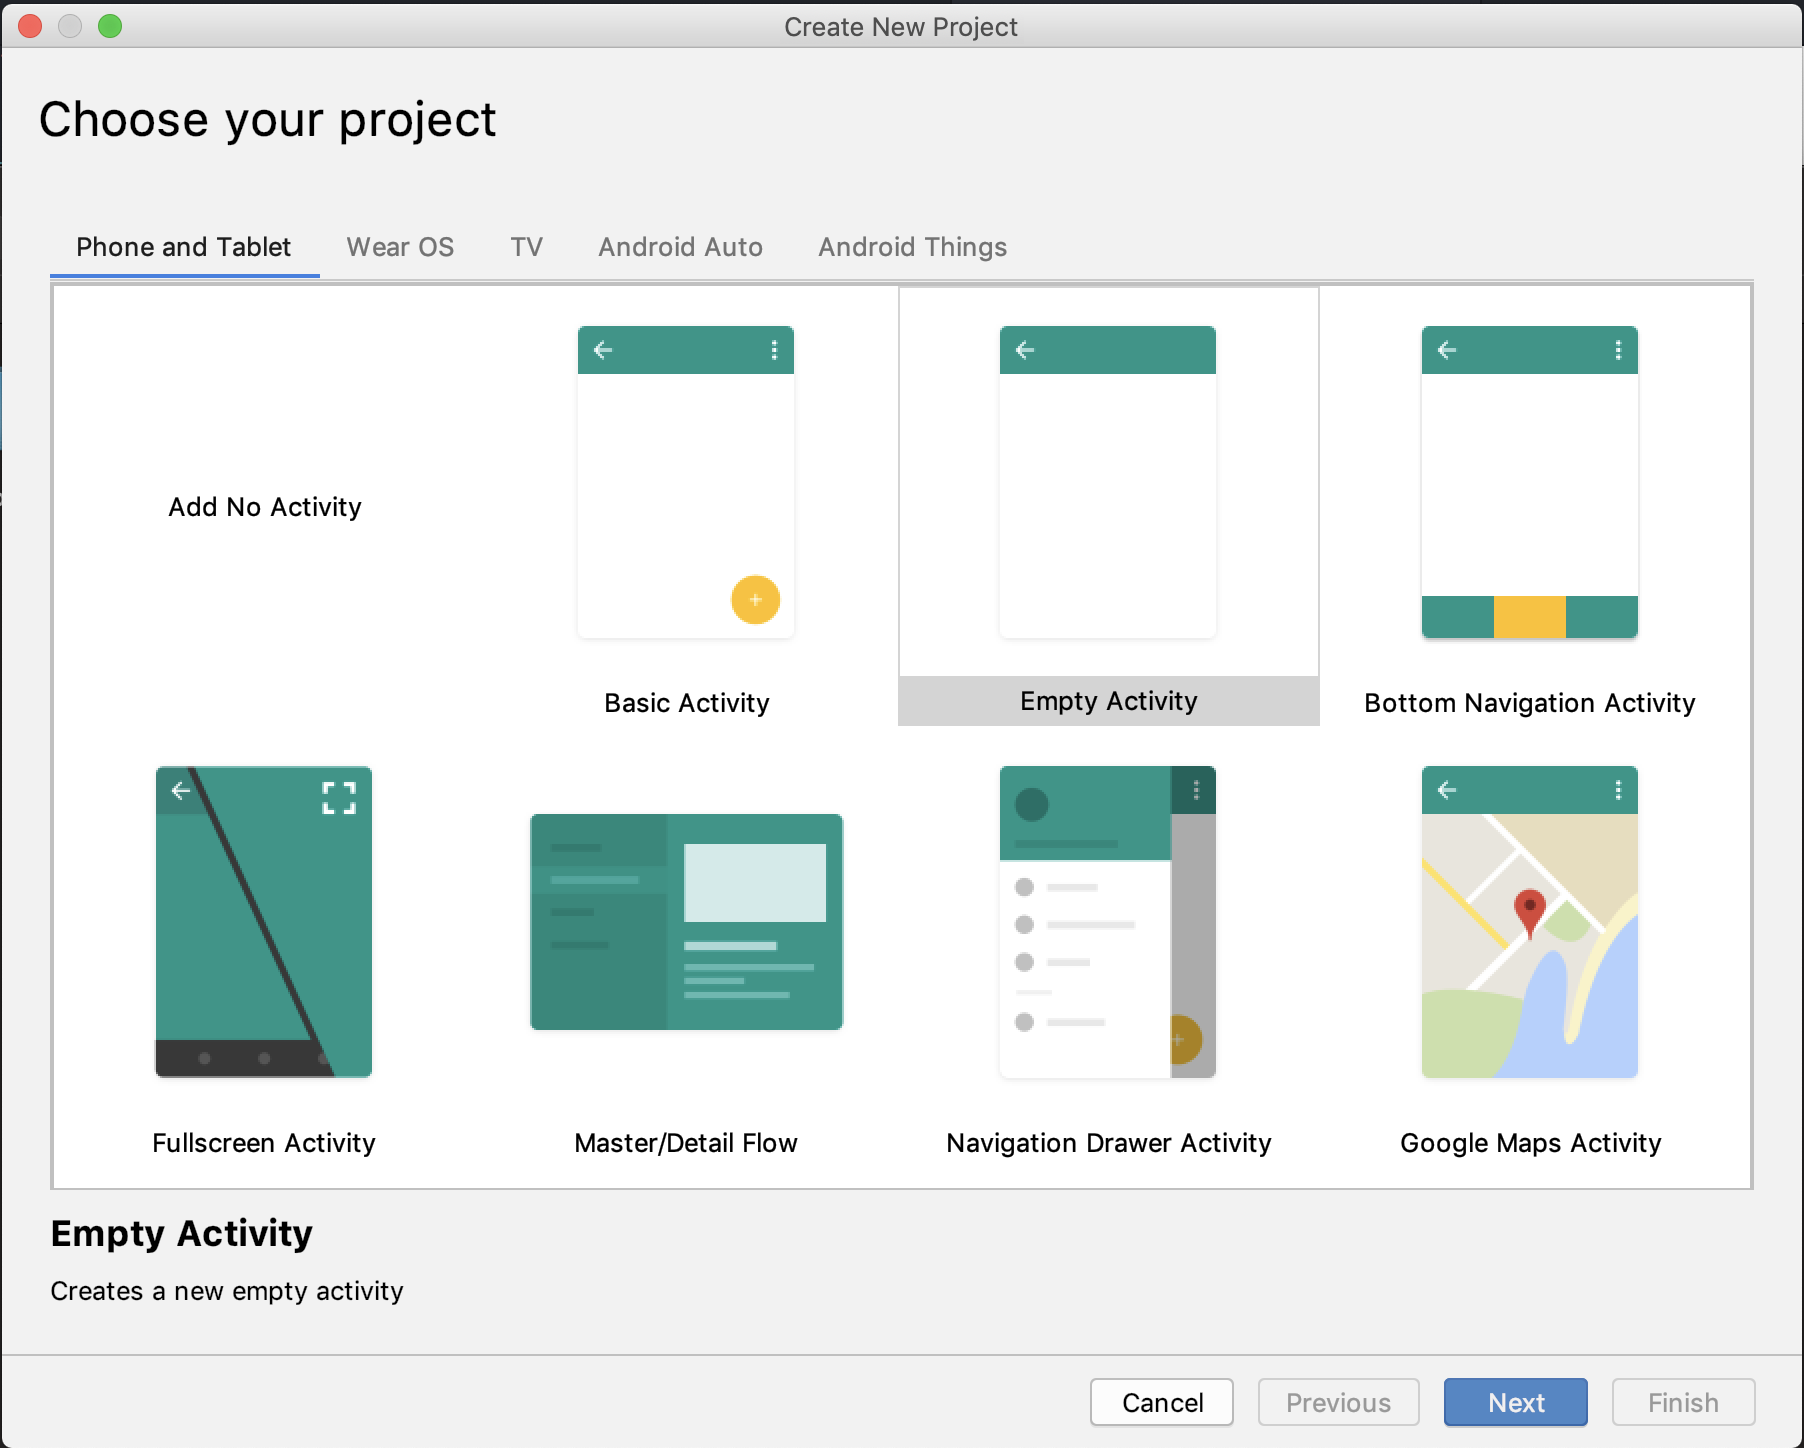
Choose the project from the list of available templates.
-
Configure your project by specifying the project name, your workspace location, your preferred language (
KotlinorJava), minimum API level etc.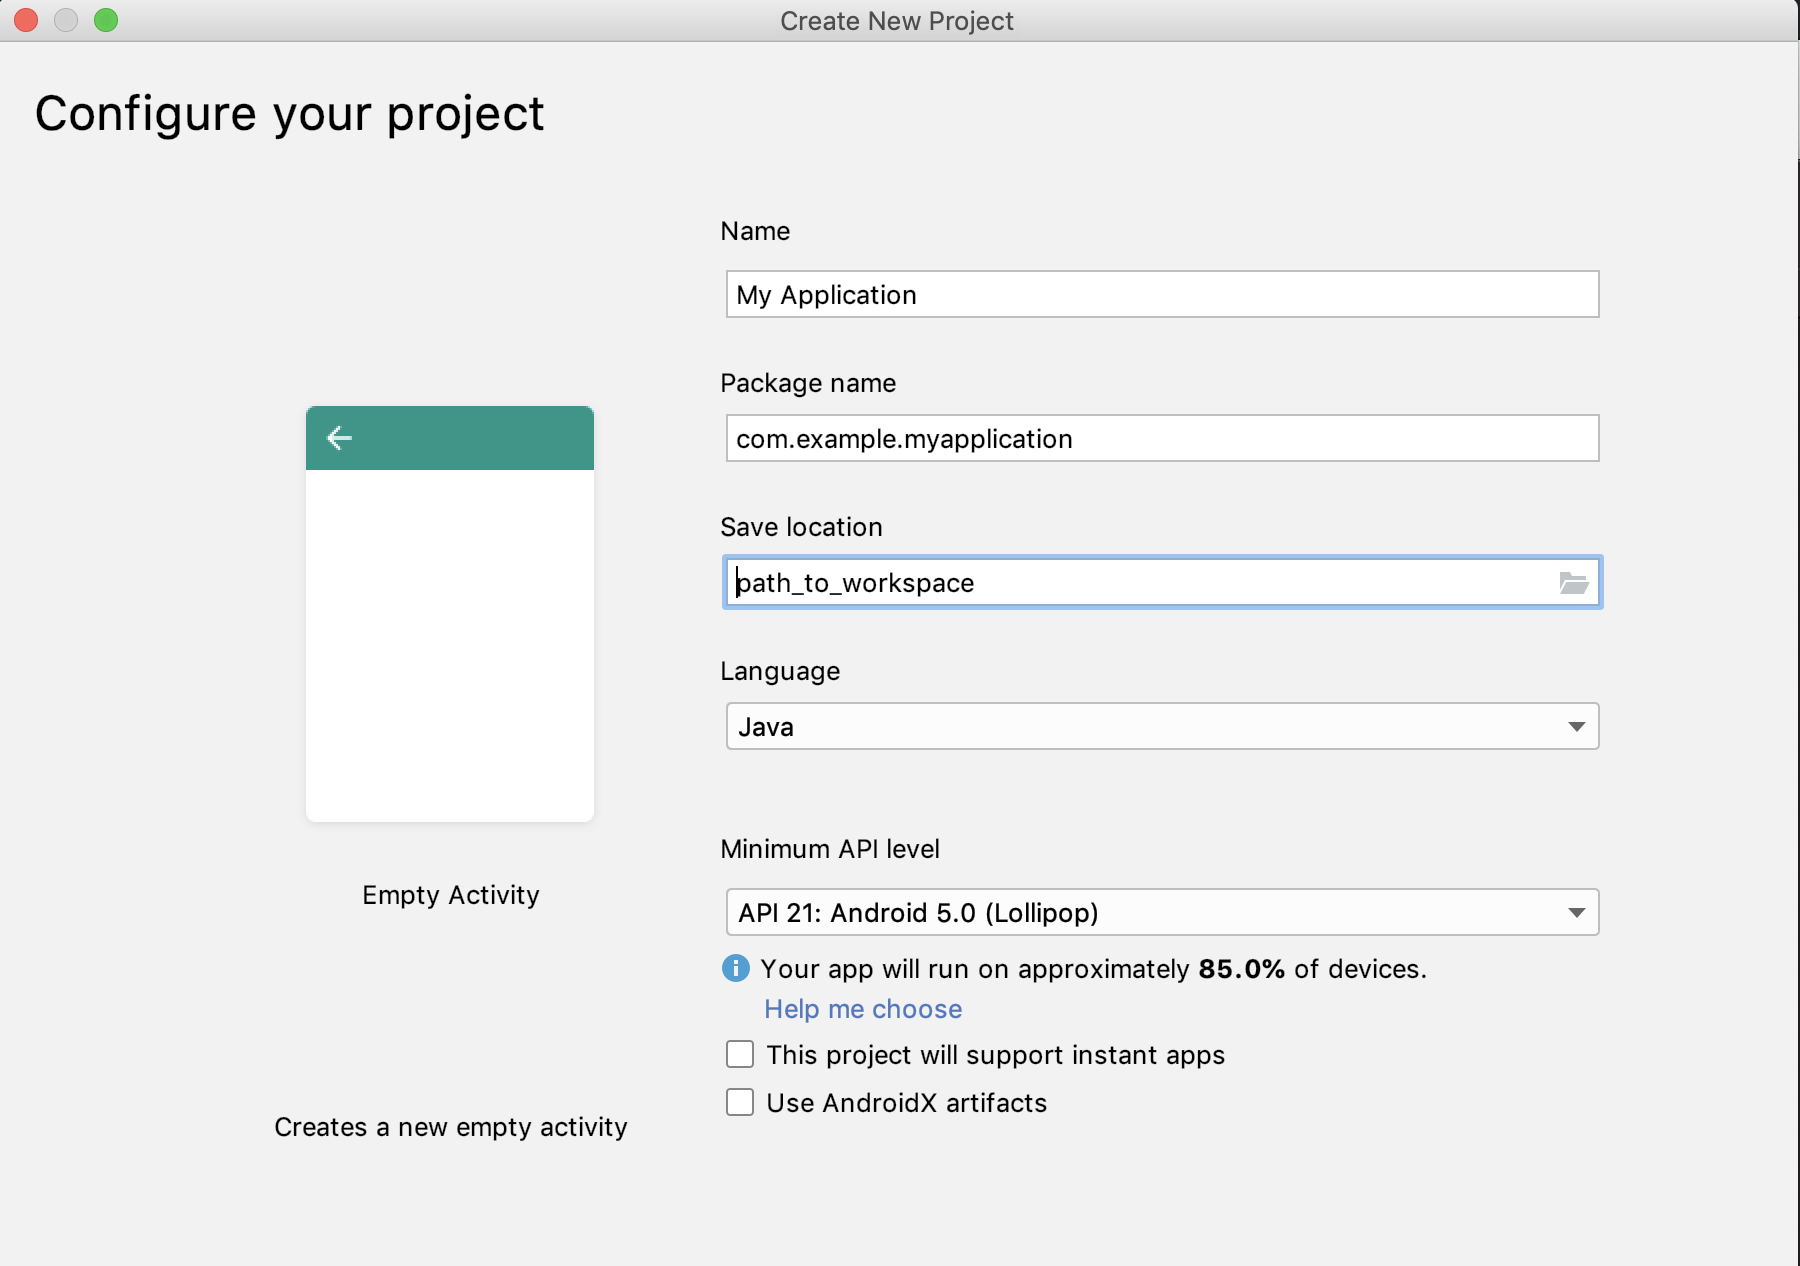
-
Give it a minute or two to build the project. (The build process can be seen on the right bottom part of Android Studio).
-
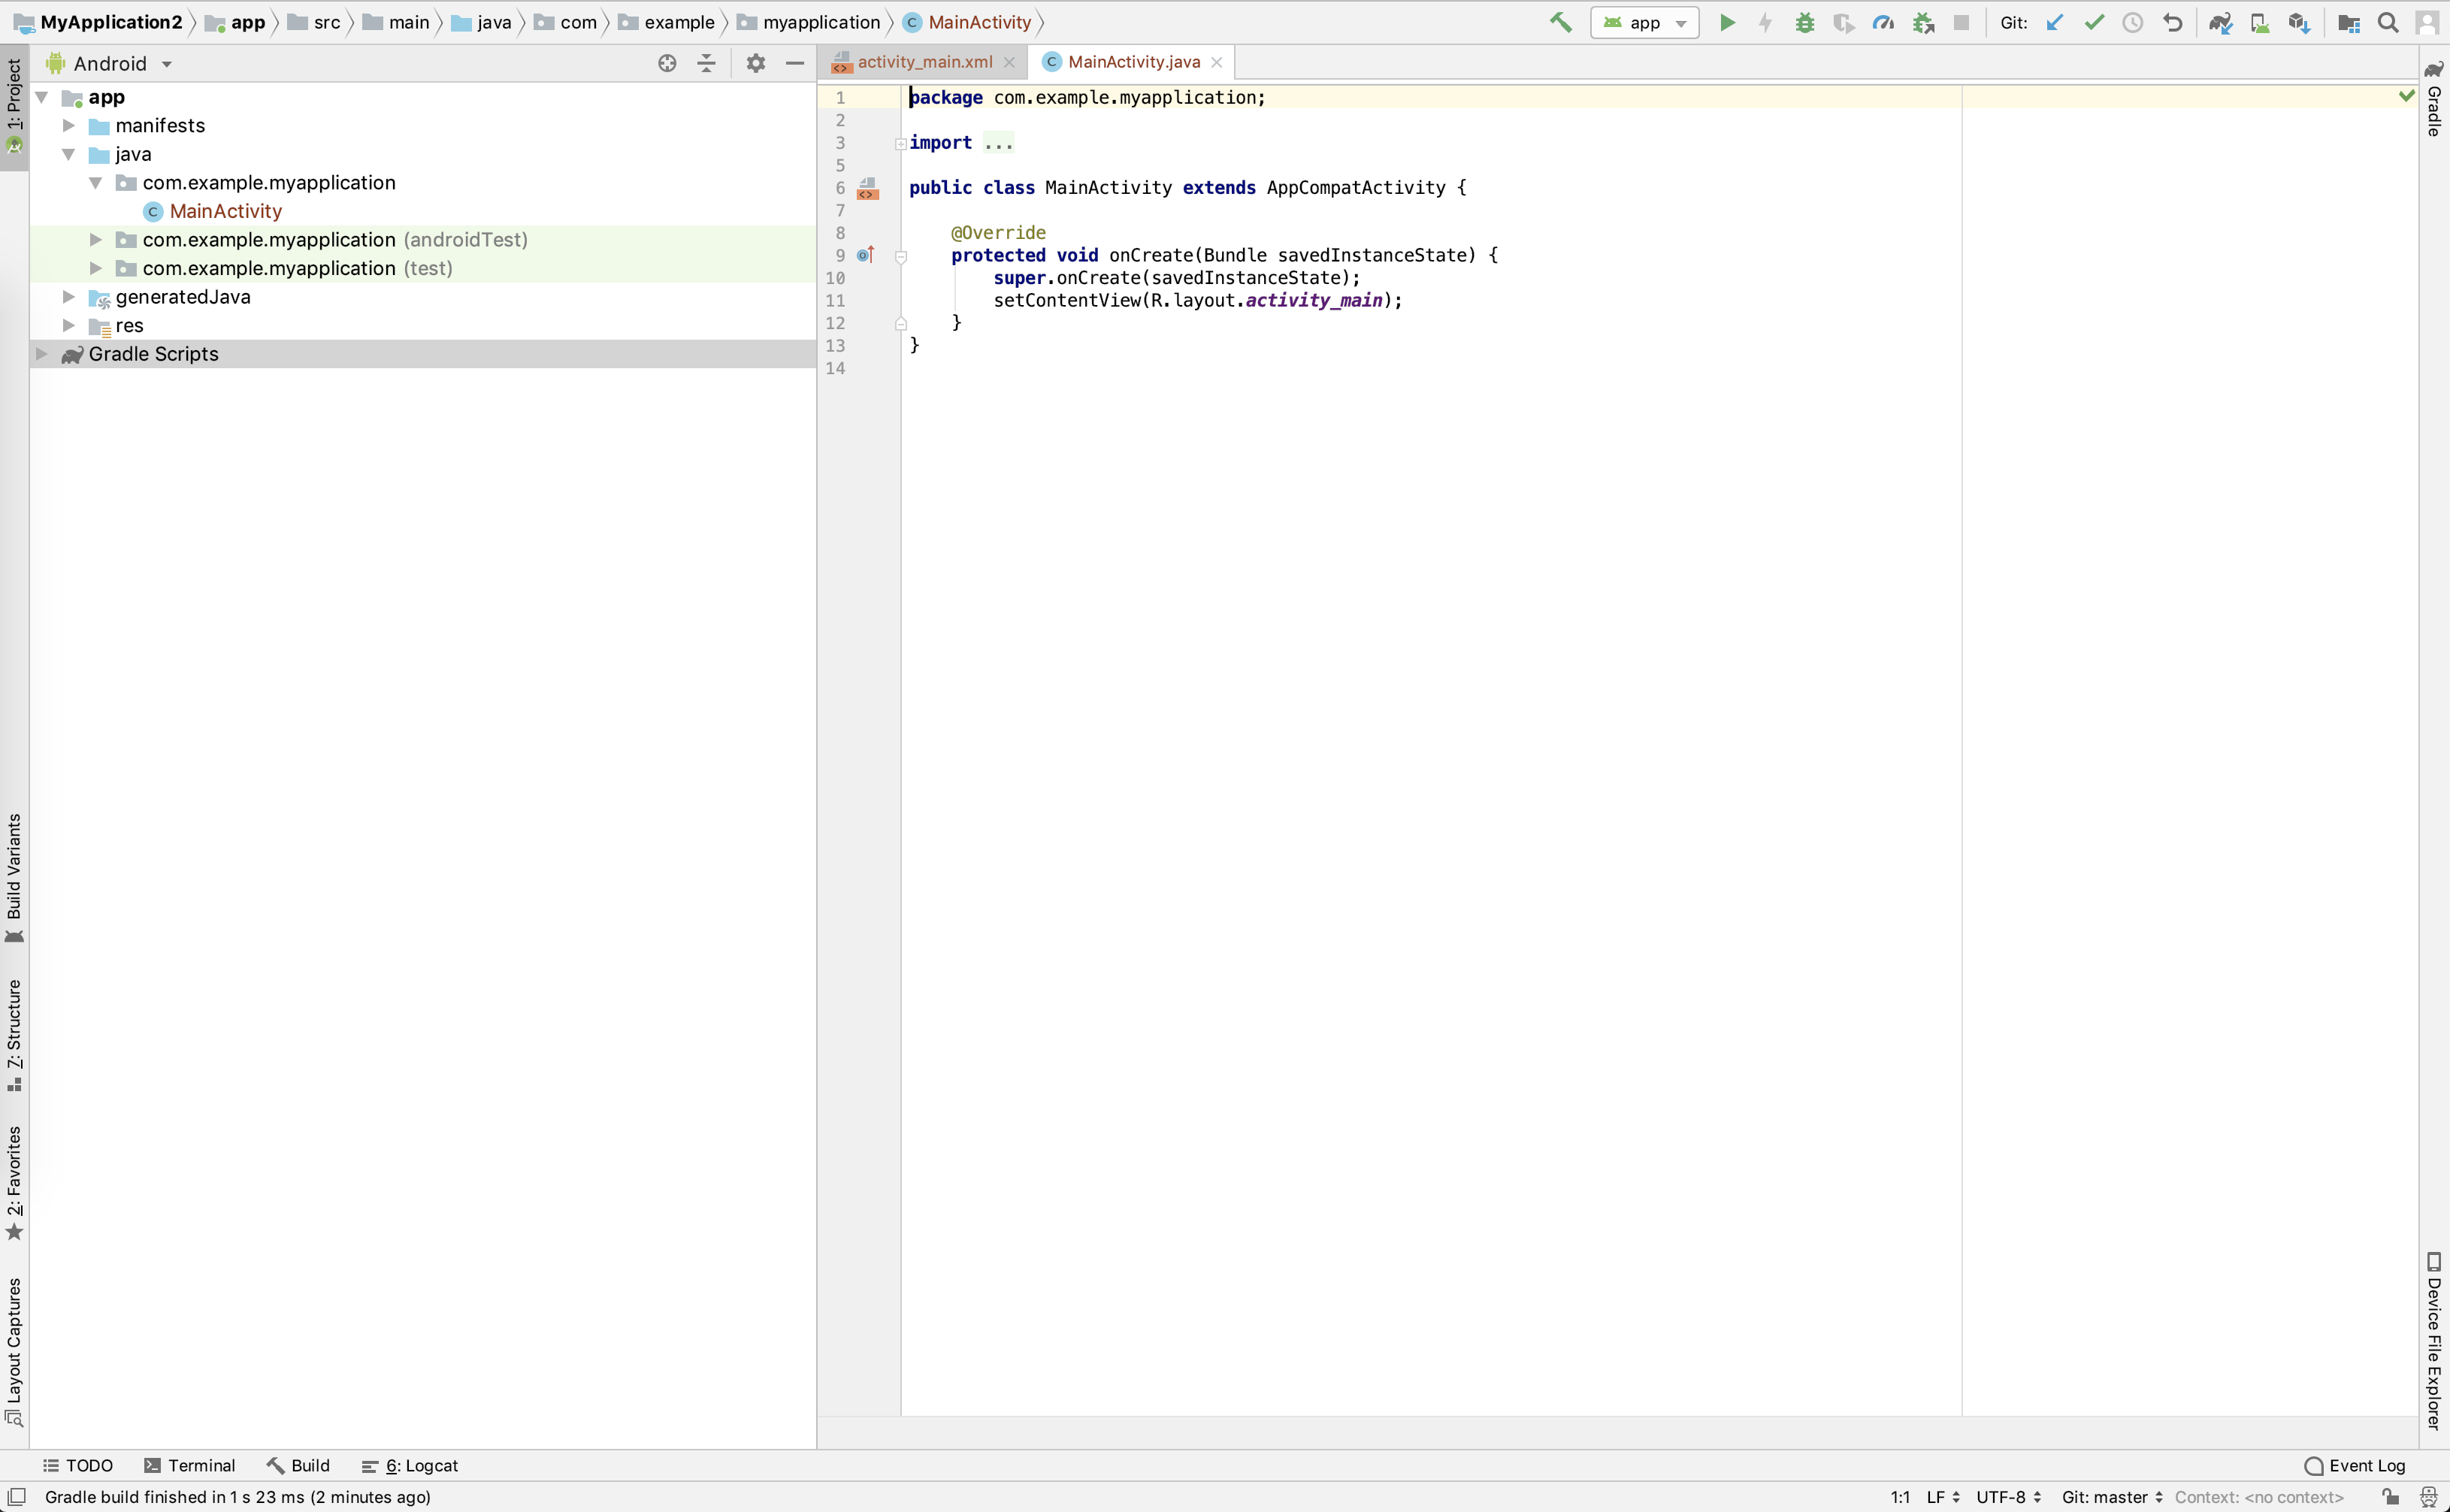
If the build was successful, you’ll see the following screen without any errors:
Creating an emulator in Android Studio to run android apps
If you do not have an Android phone to run the apps you develop, you can try to run them on the Emulator. But the emulator has limited functionalities.
- Click on the Run app button in android studio (shown below in red).

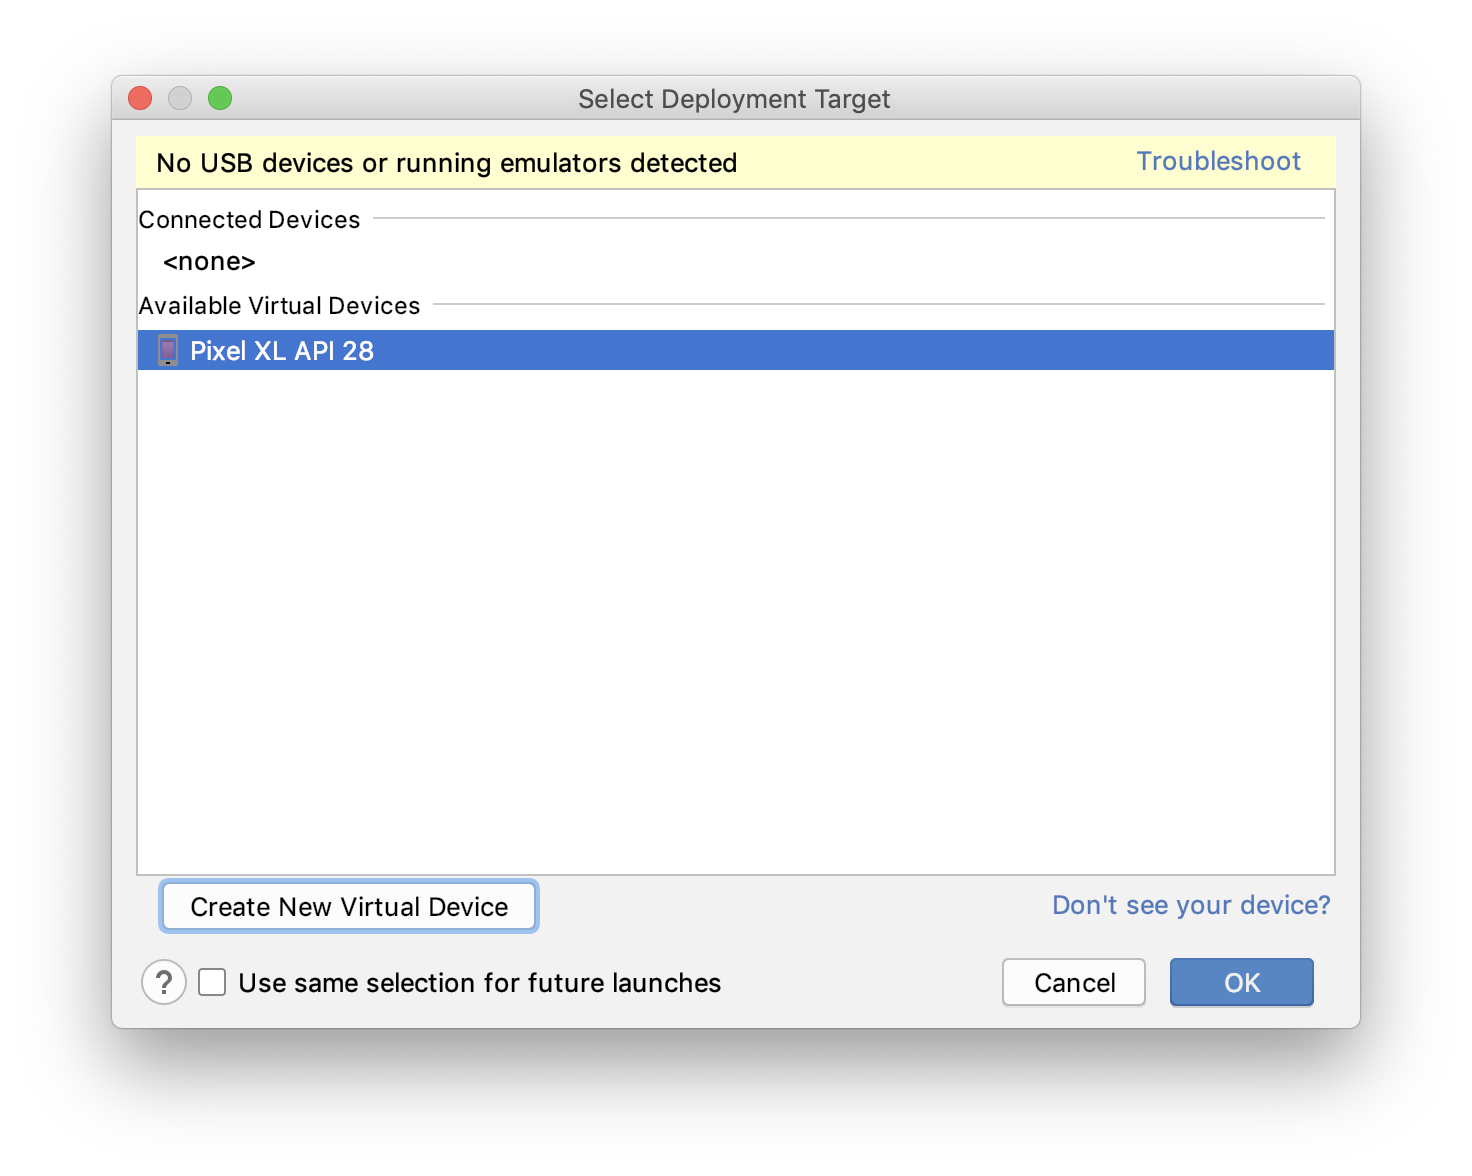
- You must see the following dialog box.
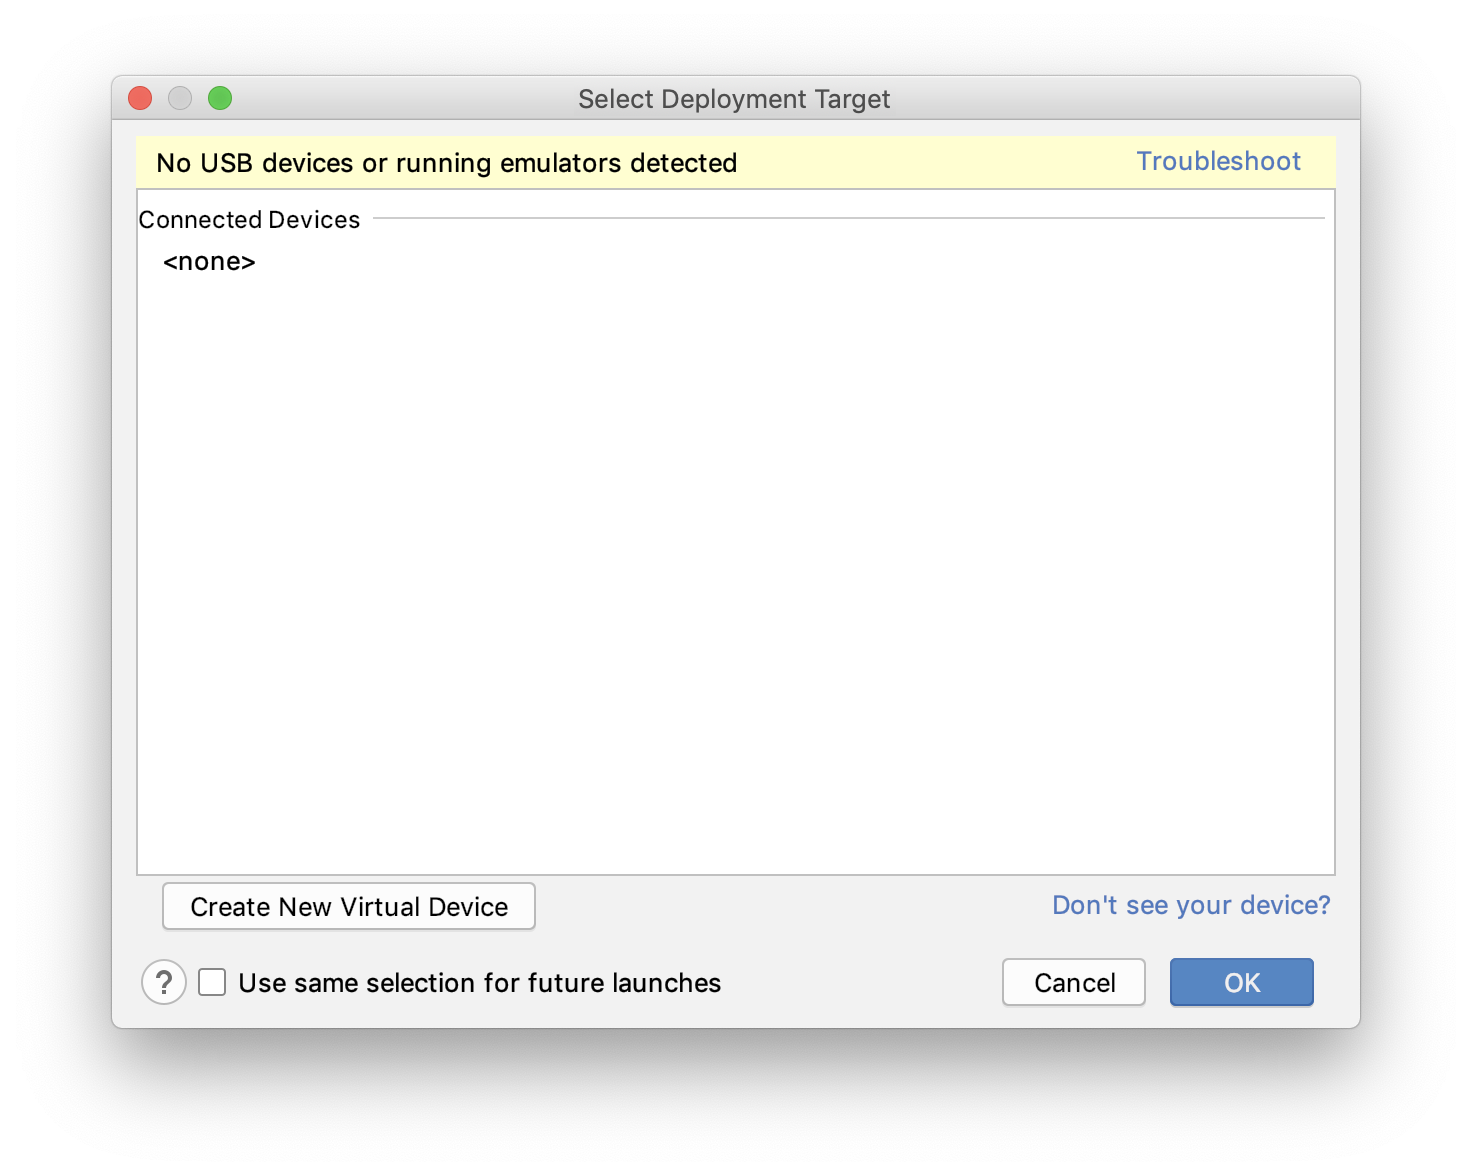
Click on `Create New Virtual Device`
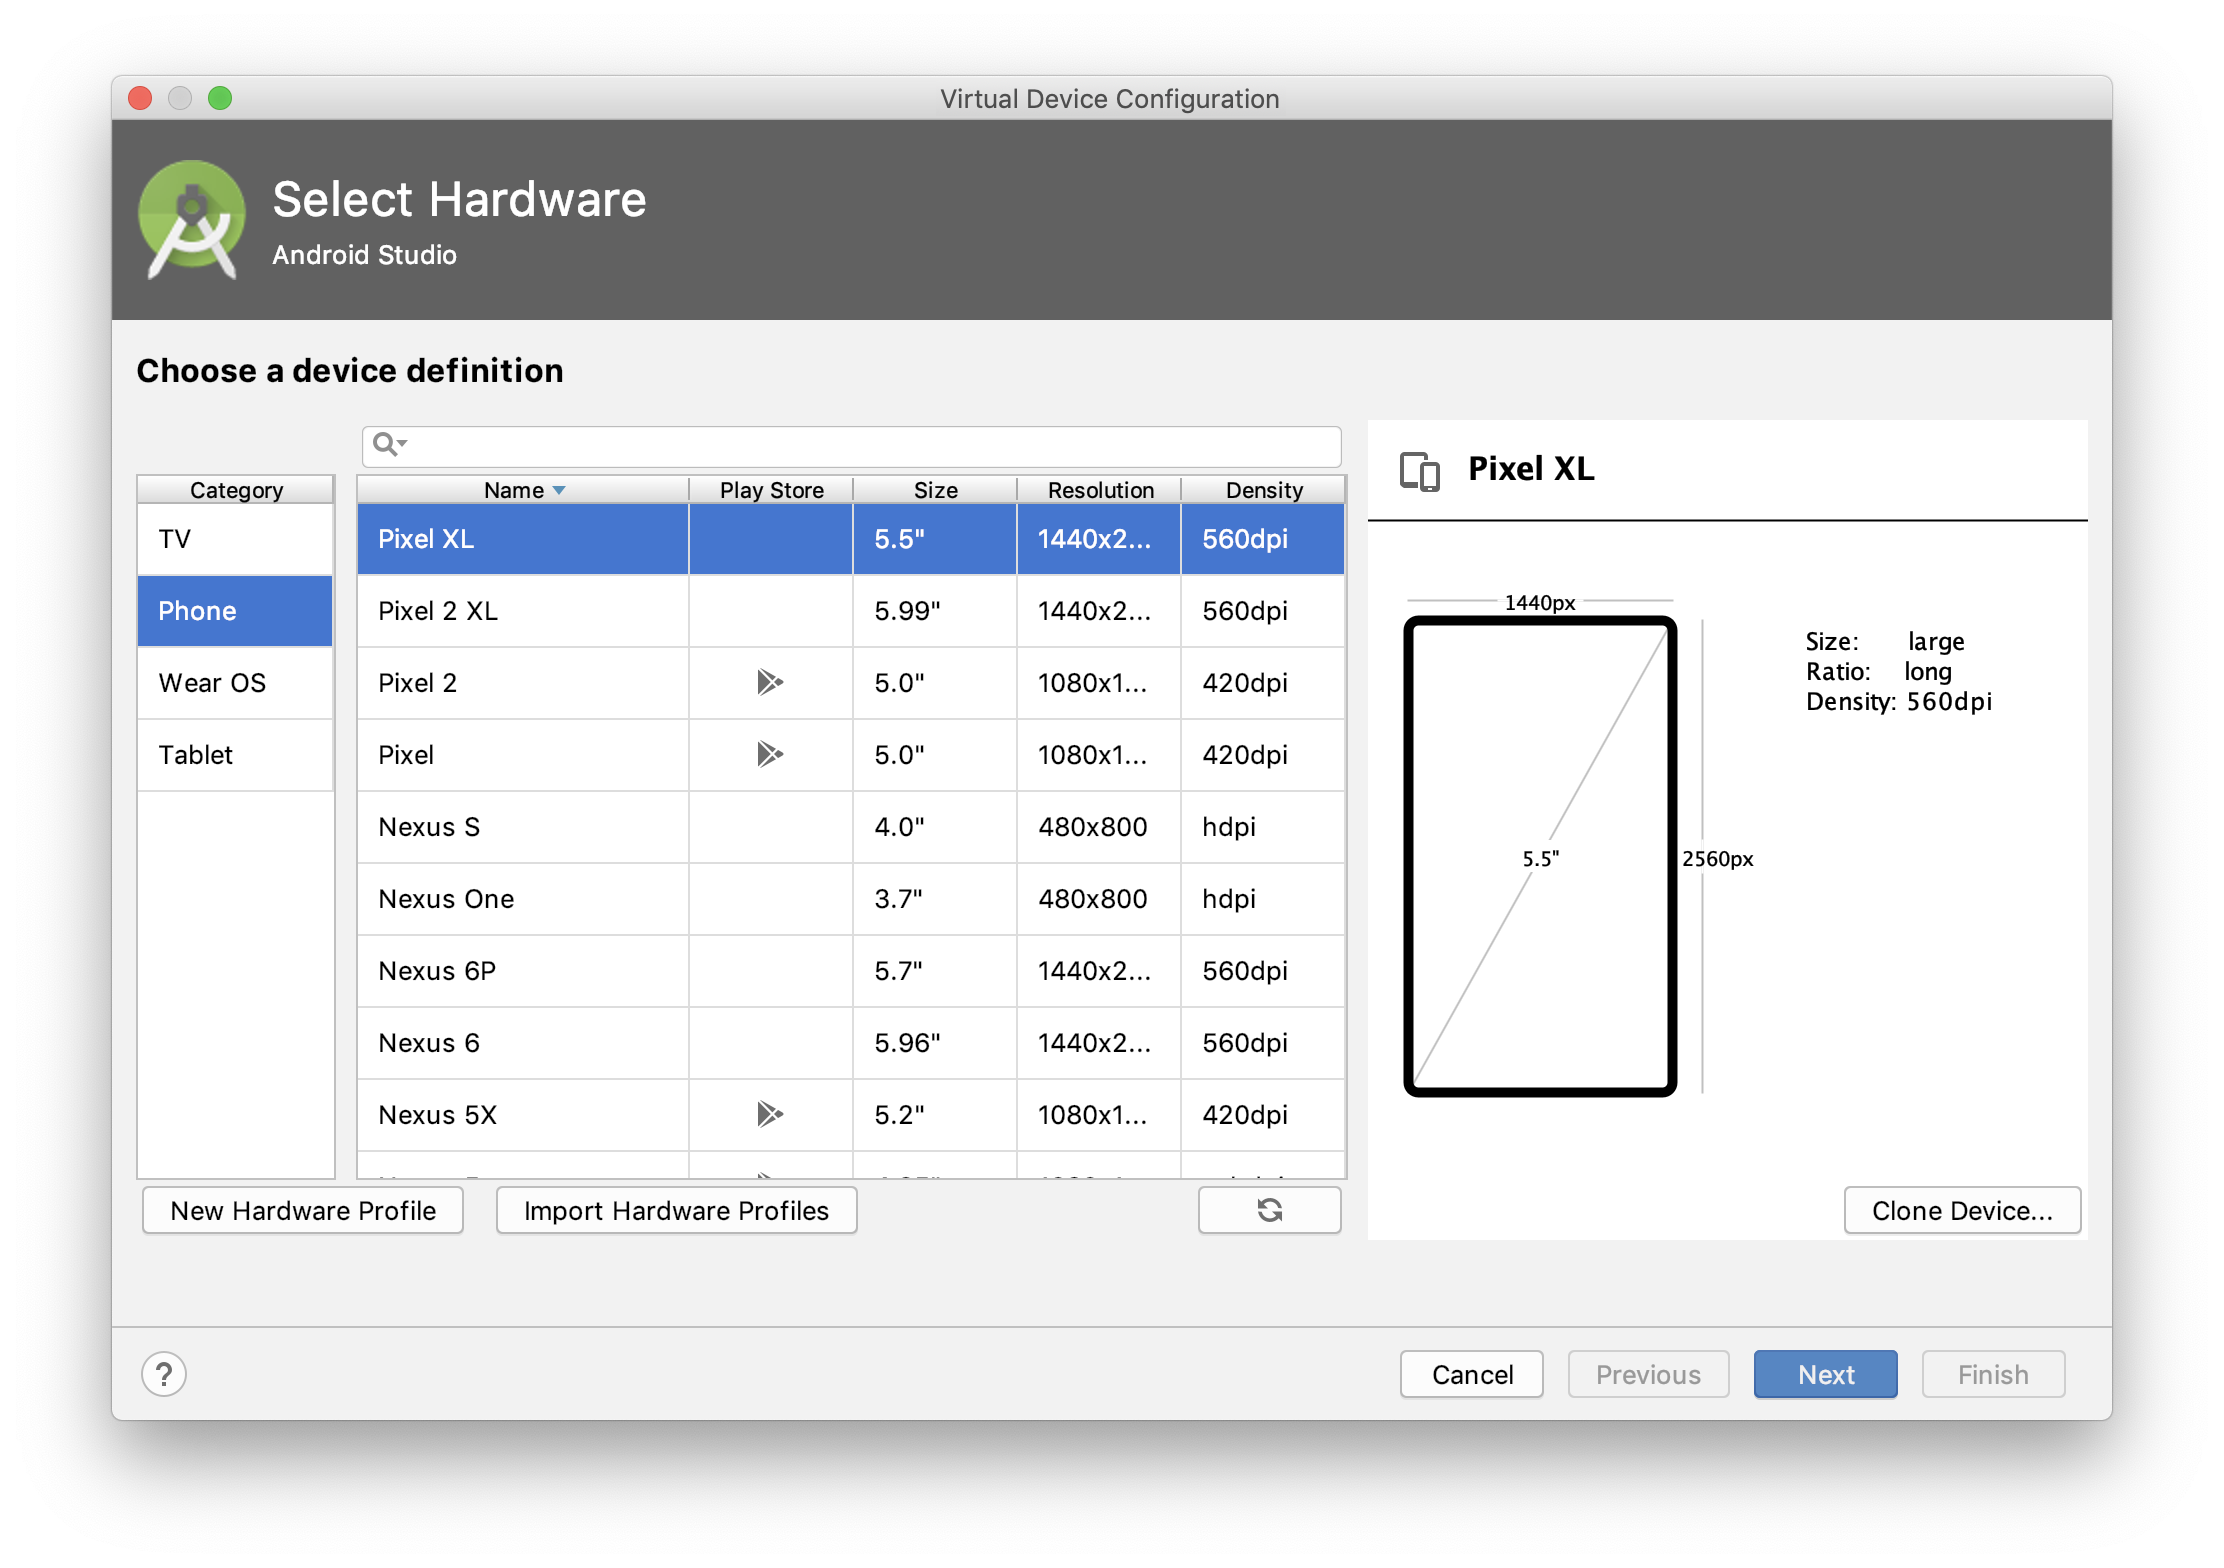
- In the next screen select the Android phone on which you wish to run the apps.
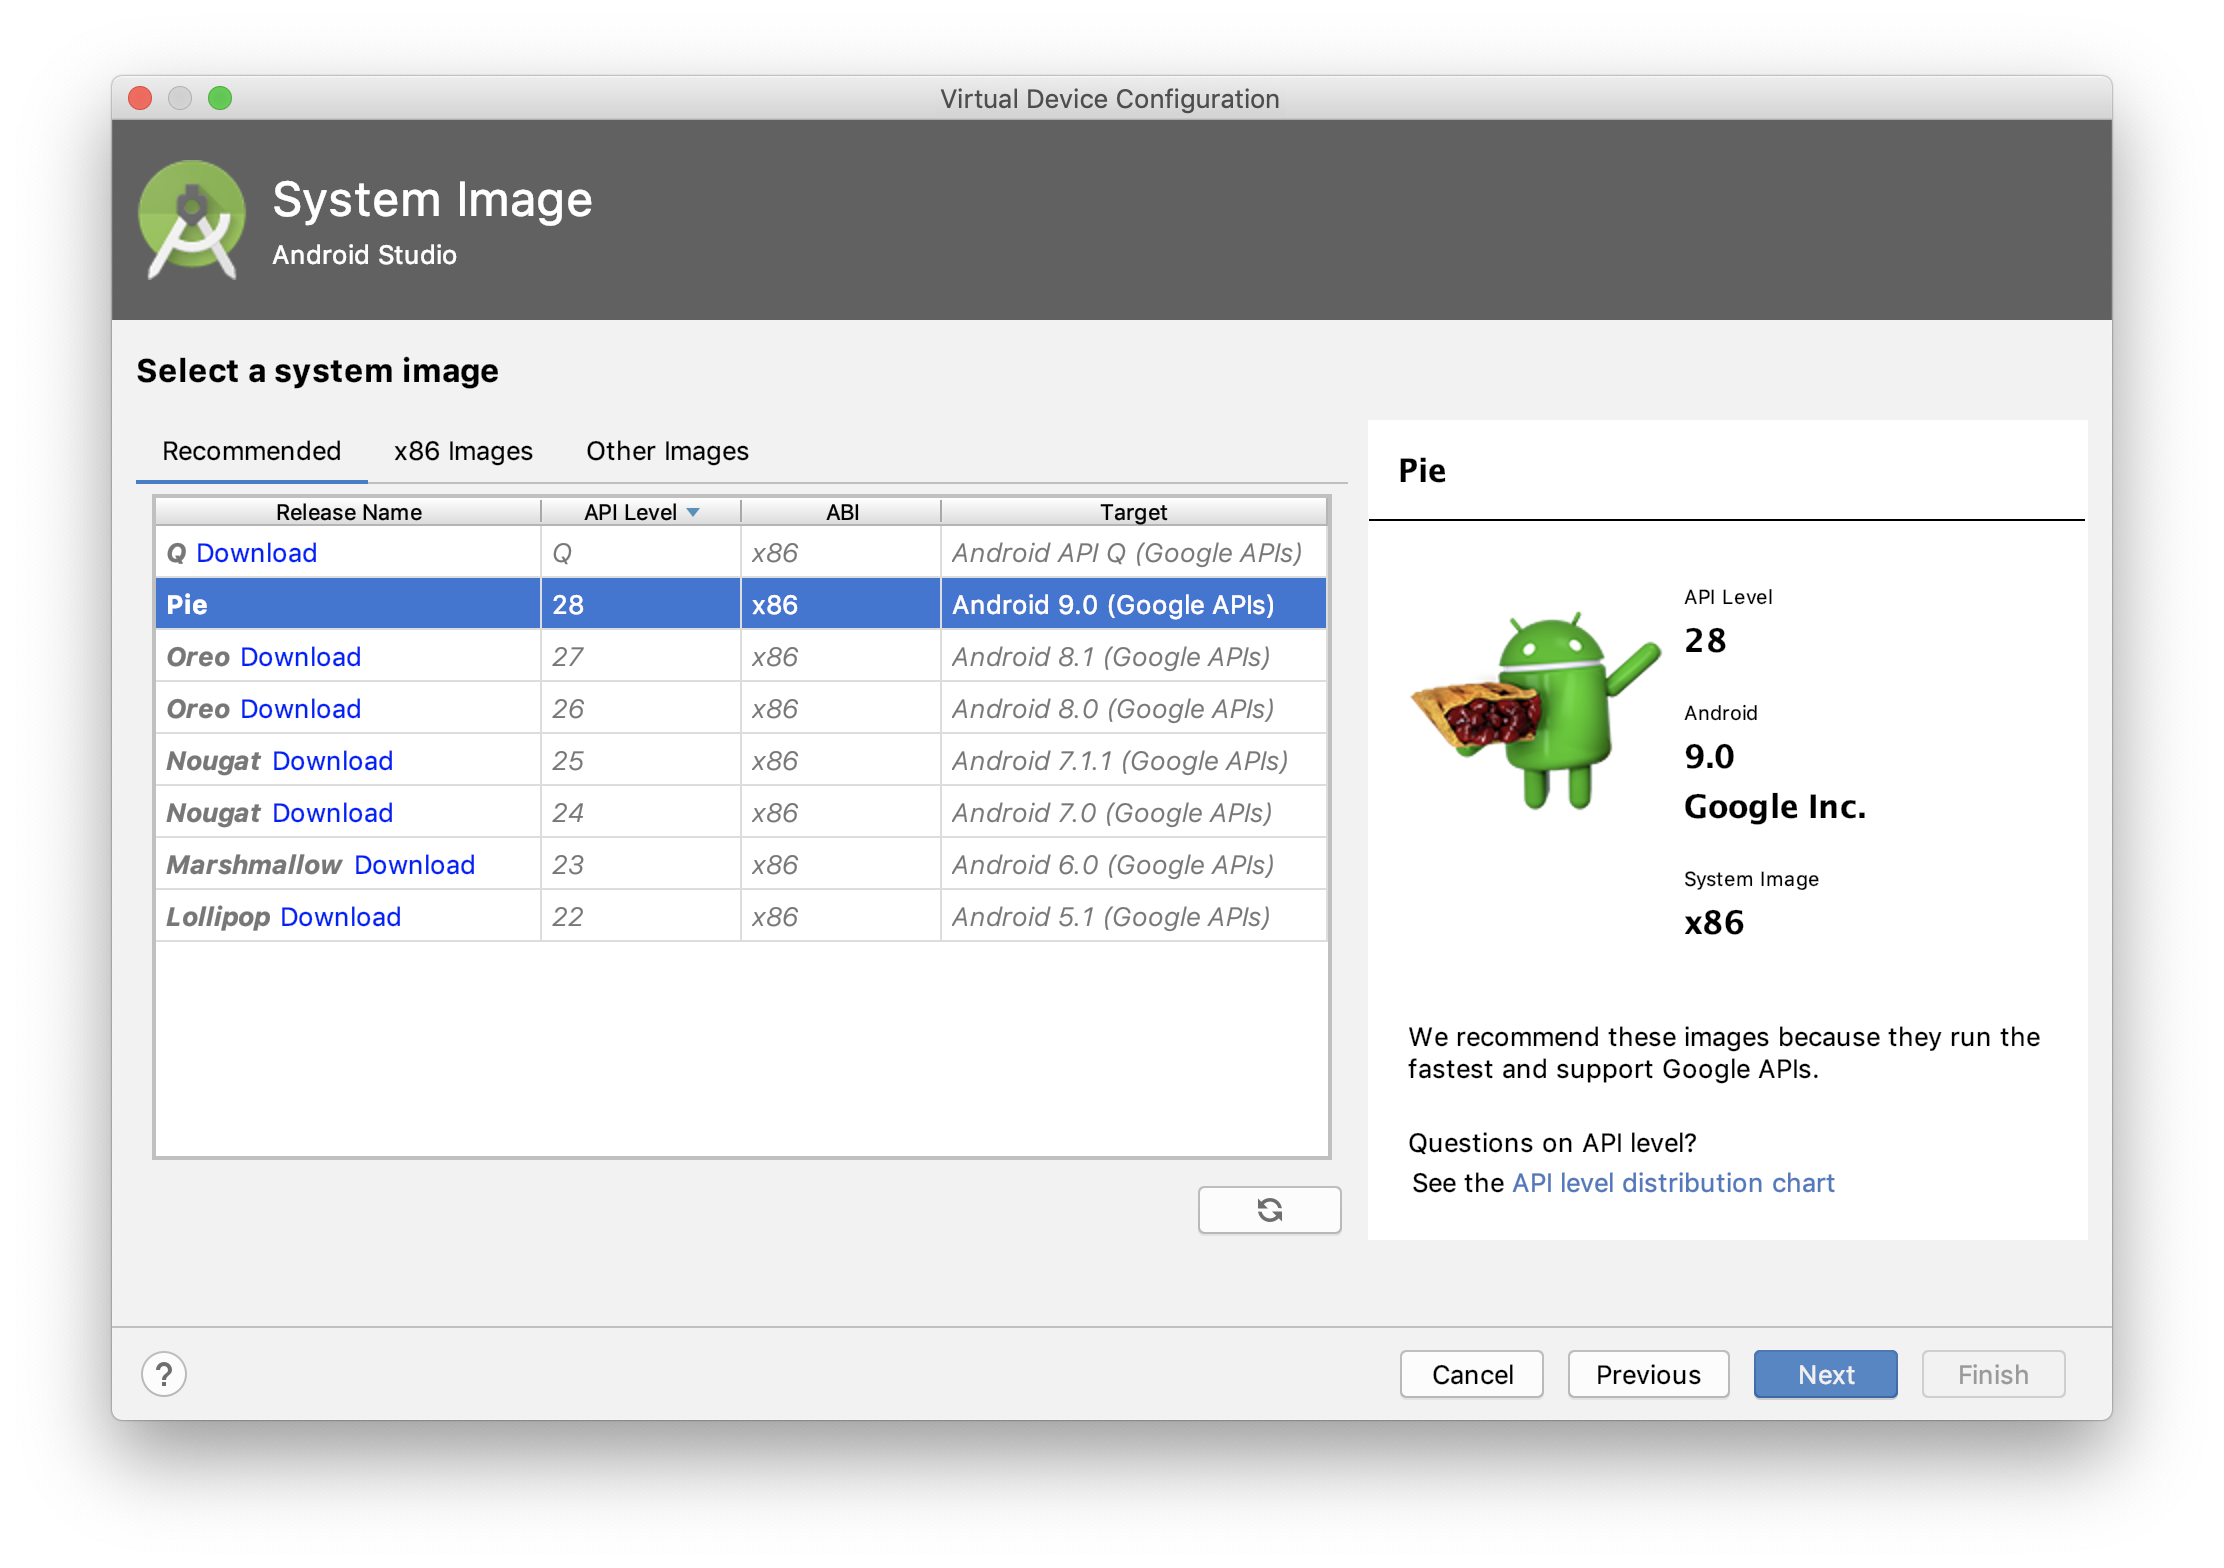
- On the next screen select the android version which should be emulated. (Download android images if they were not downloaded before)
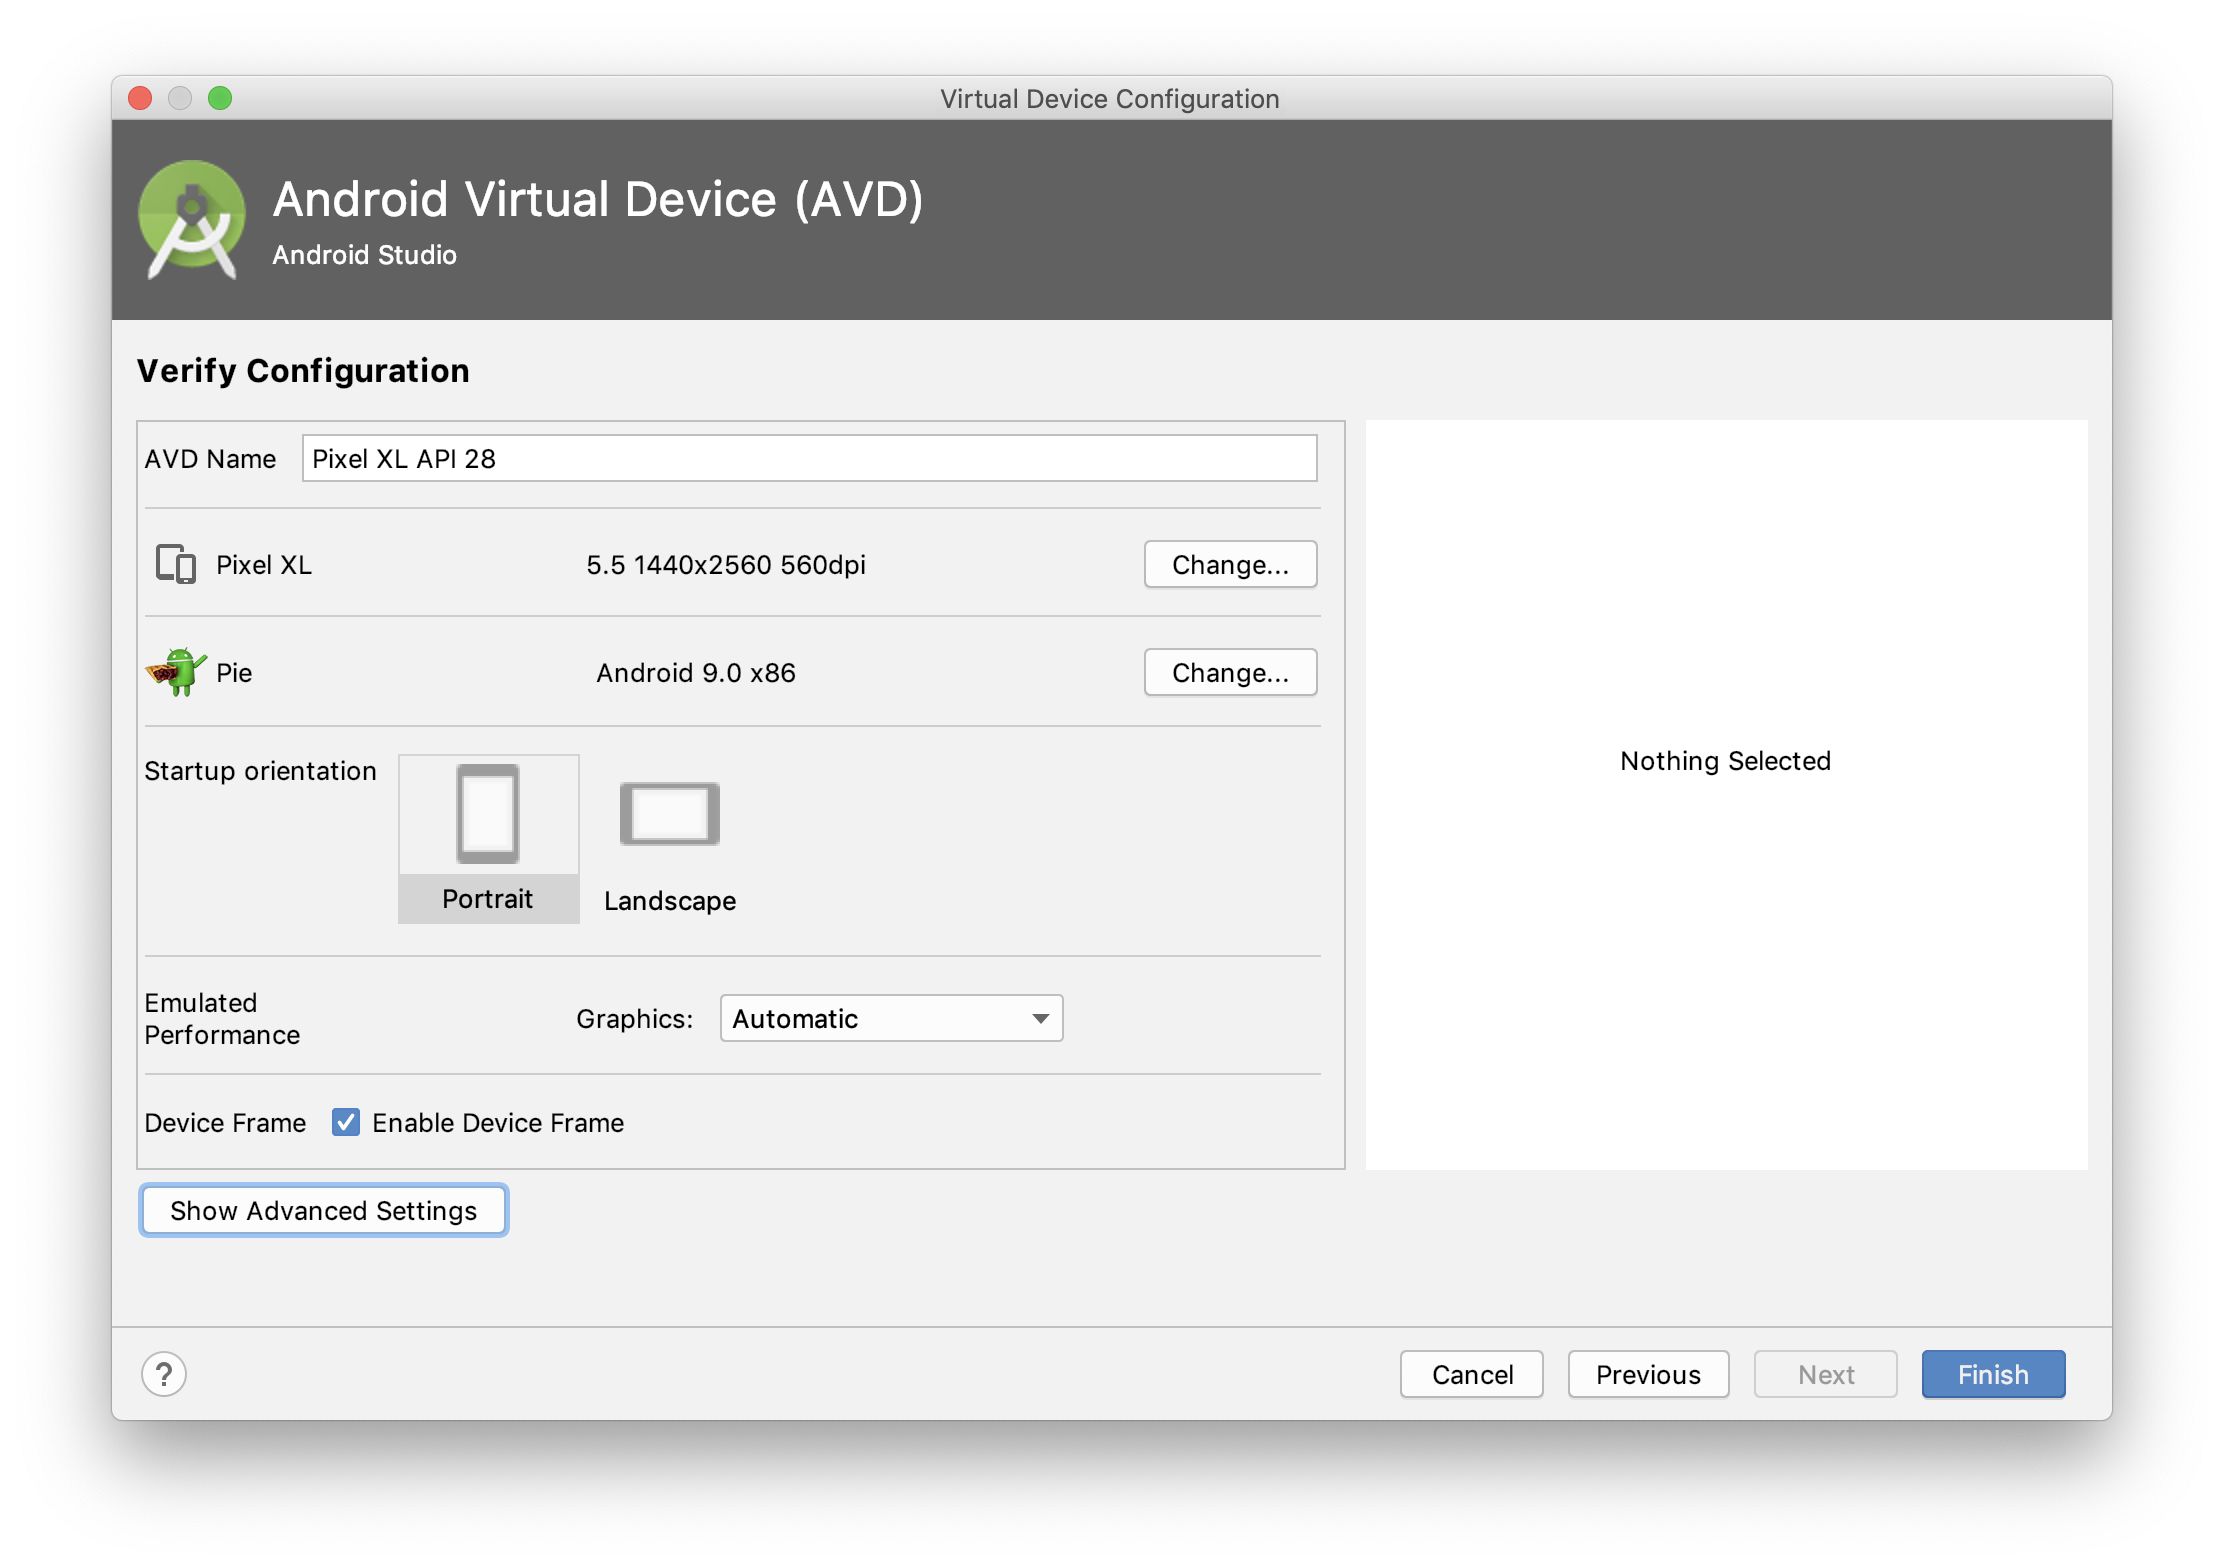
- In the following screen give the emulator a name and select other configurations and click on finish.
- Select the created emulator in the screen shown below and click on ok.
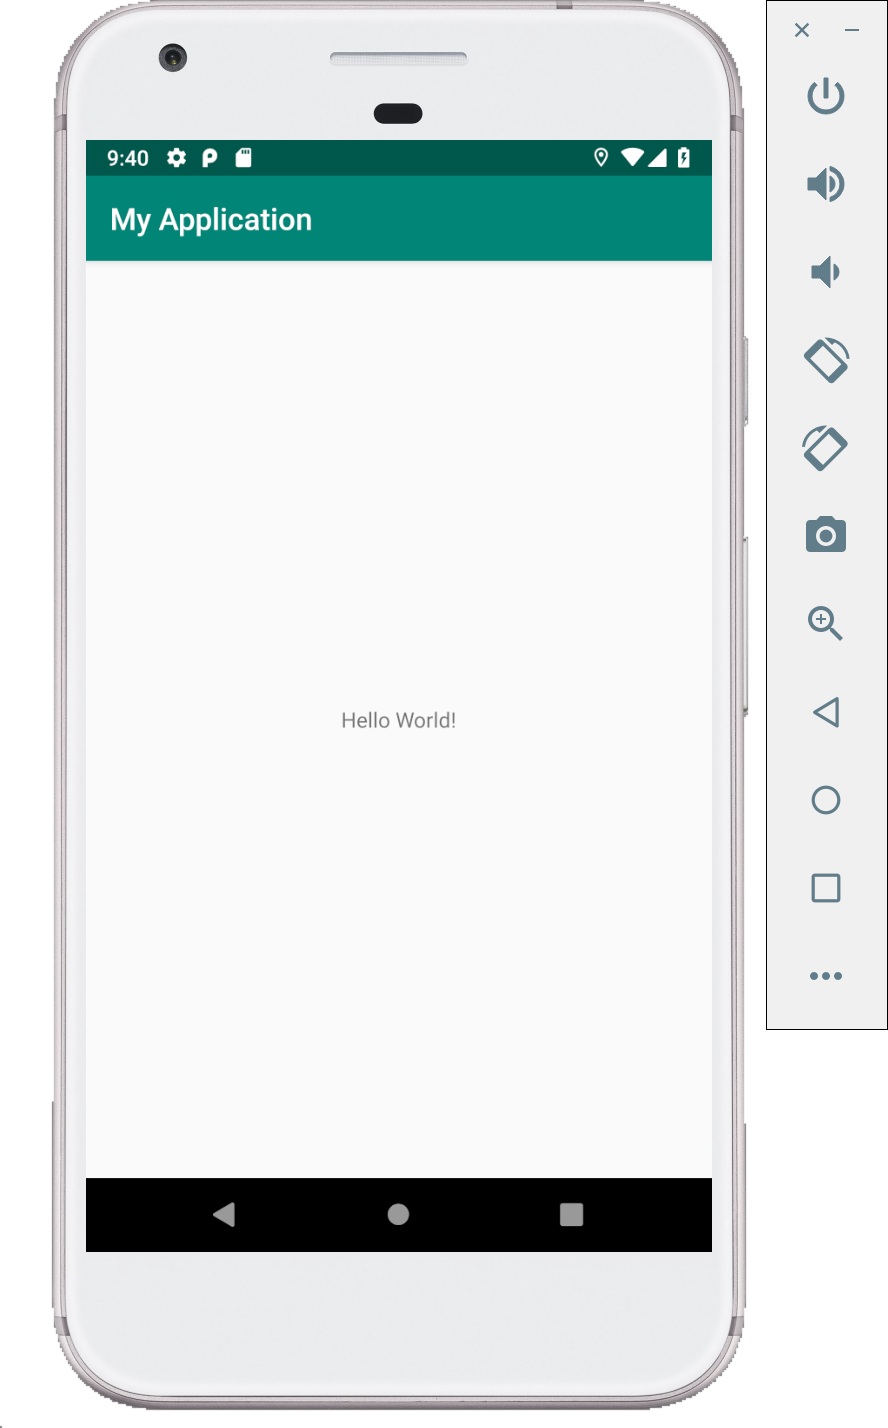
- After the emulator is selected in previous step, a virtual Android device pops up and starts to boot. After the boot process is over you can see you app open up automatically. A Hello World app on emulator should appear similar to the image below.
Building the UI
In Android Studio, UI can built using the Layout Editor, XML code or both.
There are many UI control elements in Android such as Buttons, Text Views, Edit Text, Image views etc.
We will learn some of the necessary elements in this tutorial.
Layout Editor
Most part for Android UI for basic apps can be done using the drag and drop feature in Android Studio Layout Editor.
As apps get complex, you need to write and modify XML code instead of the drag and drop approach.
Palette (marked in red box) contains all the basic components that can be used to build the UI. Each component can be dragged and dropped to the Design Editor. Each component’s attributes can be set and unset using the attributes control marked in green box).

Android activity life cycle
The Activity class is a crucial component of an Android app, and the way activities are launched and put together is a fundamental part of the platform’s application model. Unlike programming paradigms in which apps are launched with a main() method, the Android system initiates code in an Activity instance by invoking specific callback methods that correspond to specific stages of its lifecycle.
Read about Activities in Android here.
Following image shows the various callback methods that can be implemented to perform actions during different states of an activity.

You can use Log statements to verify this activity lifecycle. Log statements will be covered later in this tutorial