Text Edit demo (Java)
This is a simple demo which involves two text views, edit text and a button. On clicking the button, text is extracted from the edit text box and displayed in the text view.
Comments have been provided to explain the code.
MainActivity.java
/* change the package name to the package name of you project
* errors will be thrown if package name does not match your project name
* If you had created an empty project, the default project name will be 'My Application'
* therefore, in that case the package name would be com.example.myapplication
**/
package com.example.textedit;

/*import necessary packages */
import android.support.v7.app.AppCompatActivity;
import android.os.Bundle;
import android.view.View;
import android.view.View.OnClickListener;
import android.widget.EditText;
import android.widget.TextView;
import android.widget.Button;

public class MainActivity extends AppCompatActivity implements OnClickListener {

    /**
     * create variable of class EditText, TextView and Button these variables will
     * later assigned to views in OnCreate Method
     */
    EditText TextInput;
    TextView TextOutput;
    Button writebtn;

    @Override
    protected void onCreate(Bundle savedInstanceState) {

        super.onCreate(savedInstanceState);
        setContentView(R.layout.activity_main);

        /* assign views to the variables created previously */
        TextInput = (EditText) findViewById(R.id.etText);
        TextOutput = (TextView) findViewById(R.id.PrintText);
        writebtn = (Button) findViewById(R.id.write_btn);

        /* set OnClick listener to the button */
        writebtn.setOnClickListener(this);

    }

    @Override
    public void onClick(View v) {
        // TODO Auto-generated method stub

        /**
         * TextInput.getText() is a function call which extracts the text from the
         * EditText View The text obtained from the EditText is set to the Text View by
         * calling
         */
        TextOutput.setText(TextInput.getText());
    }
}
activity_main.XML
Each component of the UI can be assigned attributes such as the layout_width, layout_height etc. using the XML code instead of using the drag and drop feature. This method provides more flexibility and control over how the components are placed in the UI as compared to the drag and drop.
<?xml version="1.0" encoding="utf-8"?>
<LinearLayout xmlns:android="http://schemas.android.com/apk/res/android"
    xmlns:app="http://schemas.android.com/apk/res-auto"
    xmlns:tools="http://schemas.android.com/tools"
    android:layout_width="match_parent"
    android:layout_height="match_parent"
    tools:context=".MainActivity"
    android:orientation="vertical"
    android:gravity="center_horizontal">

    <TextView
        android:layout_width="wrap_content"
        android:layout_height="wrap_content"
        android:layout_marginTop="30dp"
        android:text="Enter Text and \nPress the button!"
        android:textSize="30dp" />
    <EditText
        android:id="@+id/etText"
        android:layout_width="match_parent"
        android:layout_height="wrap_content"
        android:layout_marginTop="20dp"
        android:ems="10"
        android:hint="enter text" >
    </EditText>

    <Button
        android:id="@+id/write_btn"
        android:layout_width="wrap_content"
        android:layout_height="wrap_content"
        android:layout_marginTop="20dp"
        android:text="Print"
        />
    <TextView
        android:id="@+id/PrintText"
        android:layout_width="wrap_content"
        android:layout_height="wrap_content"
        android:layout_marginTop="30dp"
        android:text="Text will appear here!"
        android:textSize="20dp"
        />
</LinearLayout>
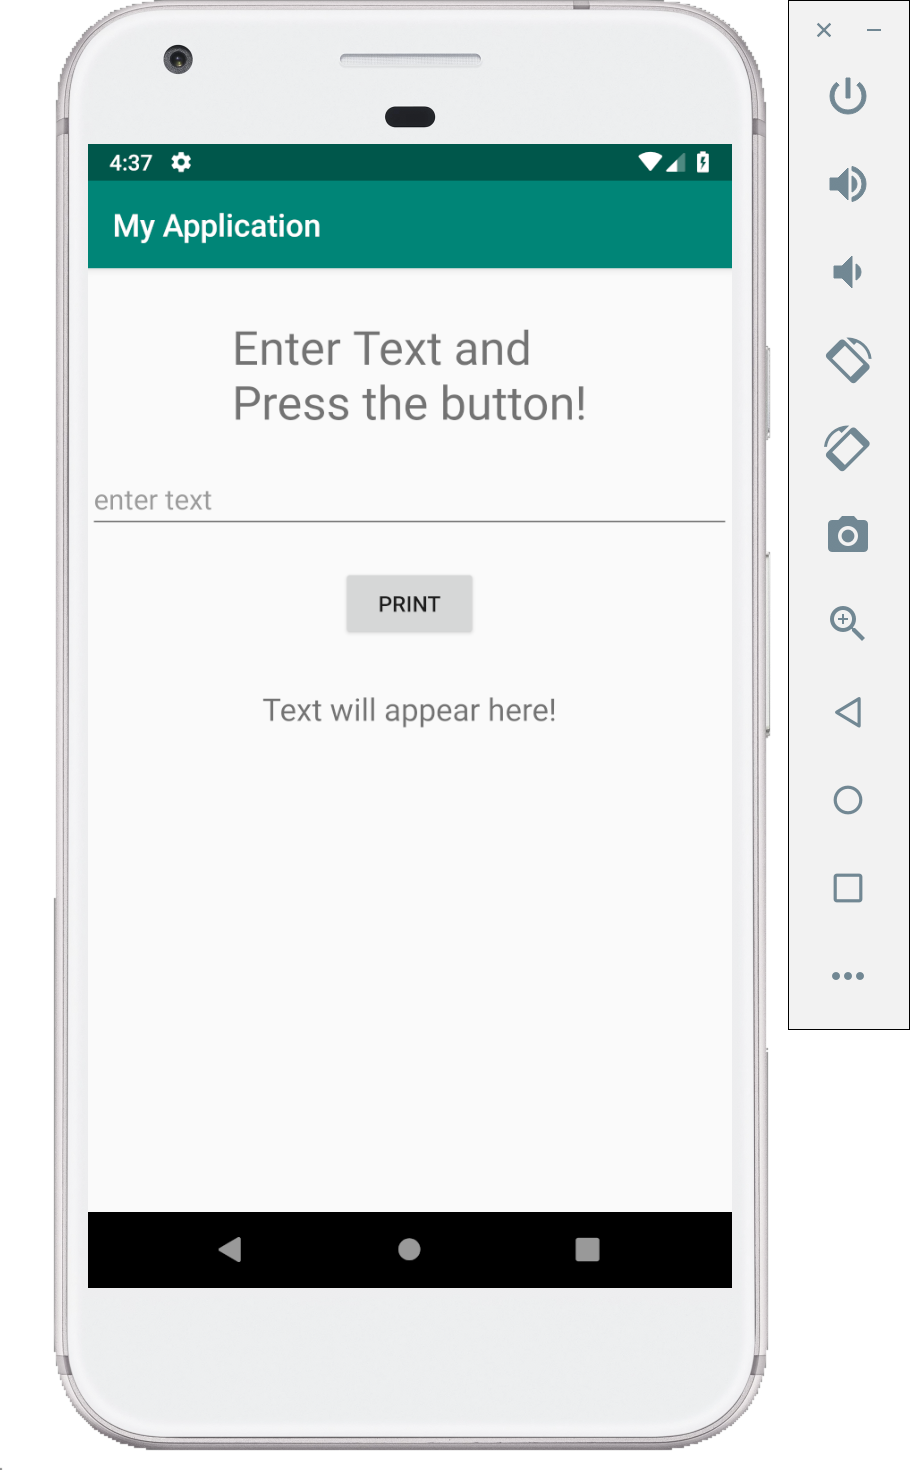
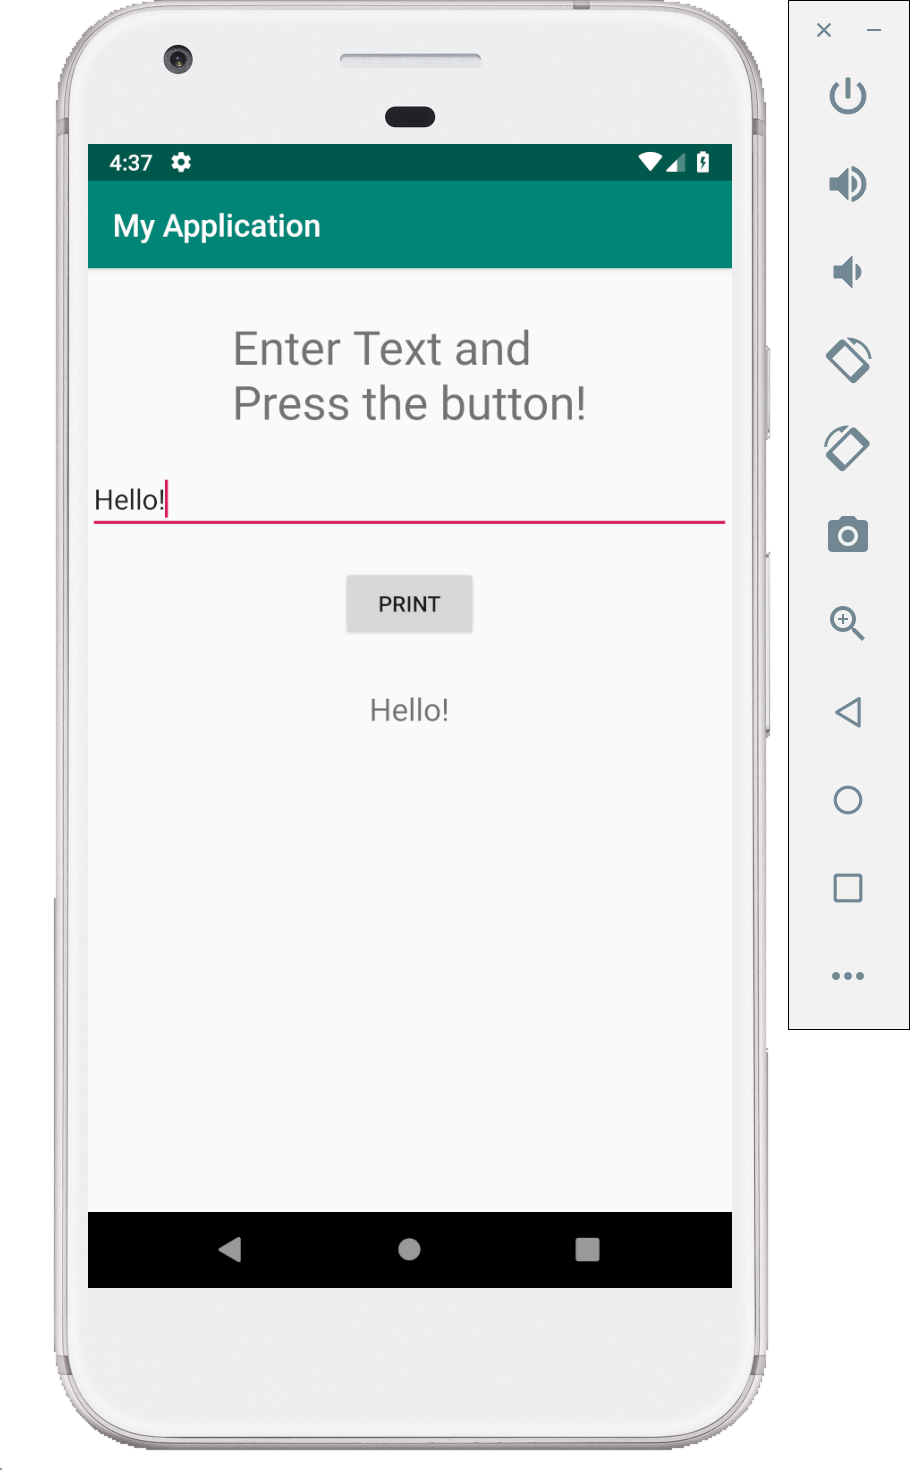
Screenshots
Following are few screenshots of this demo.